Christmas Ginger Muffins


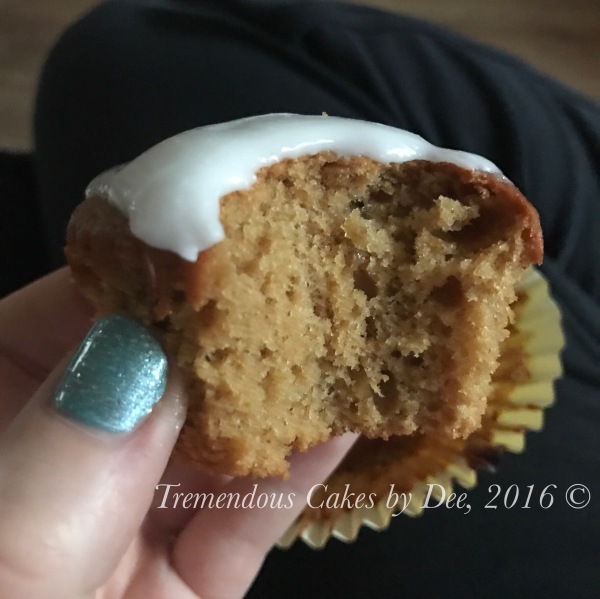
I’ve been making these muffins for the last two years at Christmas. I don’t like other Christmas spices but I loooove ginger. I’ve had a few requests for the recipe so here it is. It’s adapted from one by the Pink Whisk

Dry ingredients 

250g self-raising flour

4tsp ground ginger
120g soft light brown sugar (or half and half dark brown sugar and white caster sugar)

2-3 tbsp of stem ginger in syrup chopped into very small pieces (buy it in a jar or make your own). Reserve the syrup for later.

Wet Ingredients 

100g butter, melted 

2 eggs, beaten

180ml milk 

2 tbsp golden syrup or black treacle (or 1 tbsp of each) 

1 tbsp syrup from the jar of stem ginger

To Finish

Syrup from the jar of stem ginger (optional) 

150g icing sugar, sifted

Juice of half a lemon 
Note

You don’t need to be terribly precise about the measurements. 

Method 

Pre-heat the oven to Gas Mark 6 / 200 C.

Melt the butter and leave to cool. 

Sift the flour and ground ginger together, then mix in the rest of the dry ingredients and the stem ginger.

Mix the melted butter together with the other wet ingredients. 

Combine the wet and dry ingredients and mix by hand, or slowly with an electric mixer. The ingredients should be only just combined. 

Scrape the mixture evenly into 12 muffin cases. 

Bake for 20-25 minutes until the tops are risen, golden and springy to the touch. The colour will vary depending on the ingredients used.

If you can spare any ginger syrup, inject a small amount into the centre of each muffin. (Children’s medicine syringes are great for this).

Sift the icing sugar, and gradually add and mix in a teaspoon of lemon juice at a time until you get a spreadable consistency. Spoon some icing on top each muffin and spread with the back of the spoon. 

Enjoy these with a cup of tea for ‘second breakfast’ (a favourite Christmas holidays tradition).

Sweetie Cake

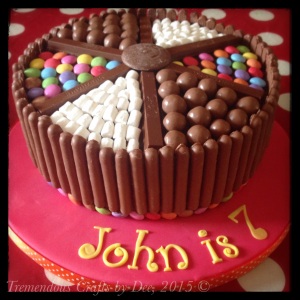
A slight variation on the Chocolate Finger & Malteaser cake, or the Kitkat and Smarties cake, here is a ‘sweetie’ cake I made for my son’s 7th Birthday Party last weekend.

image

It’s a Chocolate Fudge Cake (recipe here), filled with white chocolate buttercream, smothered with chocolate ganache and surrounded by chocolate fingers, and topped with chocolate fingers, malteasers, mini marshmallows and smarties.

You might notice a row of smarties around the bottom – that wasn’t part of the original plan! After I had filled the cake, it was slightly taller than the fingers, so I needed to raise them a bit! I think it worked out well!

Thanks for visiting!

Dee x

M&Ms Gravity Cake

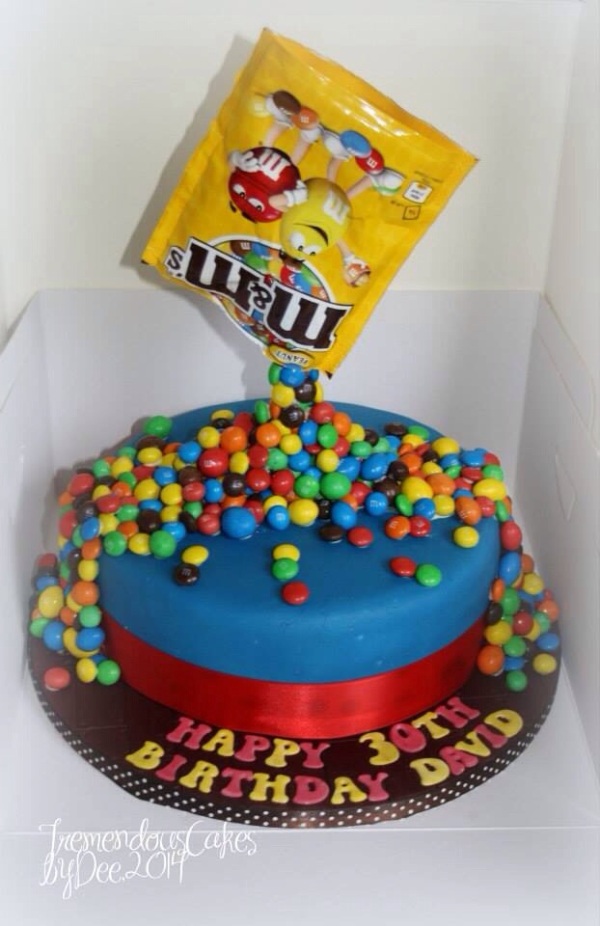
I wanted to make something special for my husband’s 30th birthday cake; something I hadn’t made before. He’s a big fan of peanut M&Ms, so I decided to make my version of the M&M gravity cakes I had seen doing to rounds on Pinterest and Facebook.

This is a Chocolate Biscuit Cake, covered in fondant/sugarpaste/ready to roll icing. 4 large bags of M&Ms are stuck on individually with melted white chocolate.
Tip: Plain and crispy M&Ms are easier to stick on than the heavier peanut ones.

20140916-234109-85269341.jpg

You can see a tutorial by Cupcake Addiction on YouTube here. Their method is slightly easier to do as the cake is covered in buttercream.

Fairy Door

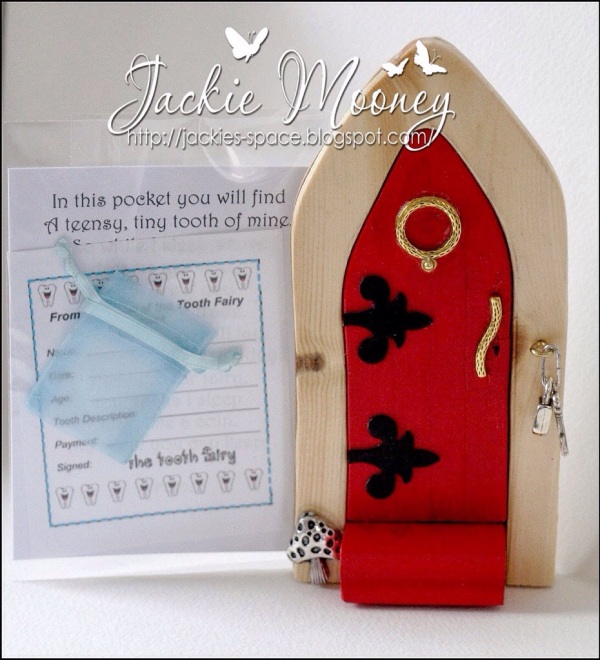
I had seen these Fairy Doors making the rounds; but they really caught my attention when I saw one that was handmade by Jackie Mooney. My son was due his first visit from the tooth fairy, so I asked Jackie to make one for him.

20140907-081642-29802674.jpg
You can see Jackie’s Doors here

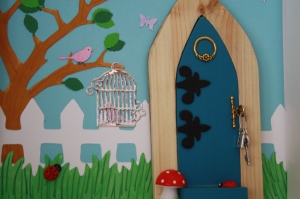
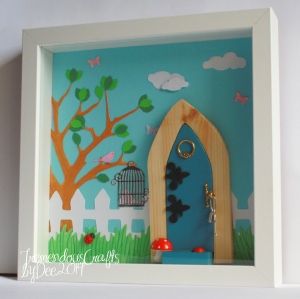
I had seen a friend make a little scene in a box frame to put a Fairy Door into, and I thought it was so cute, that I had to have a go. I had someone in mind, who LOVES Fairies, that I wanted to make a gift for, so I ordered another Door from Jackie. I used my Cricut to cut a tree, fence and grass, a die to cut the birdcage and birds, and used punches to cut some leaves and butterflies. The whole thing went into a Ribba frame from Ikea.

IMG_3824

IMG_3828a

I hope you like it!
Dee *

First Birthday Girl

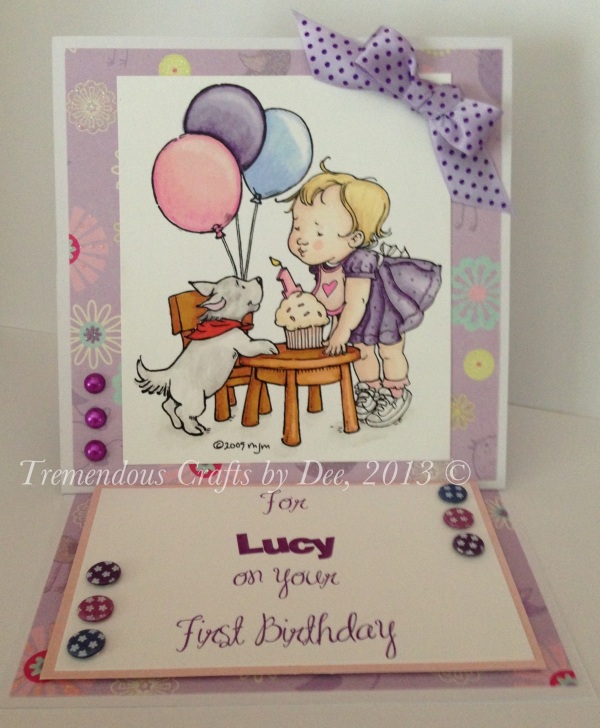
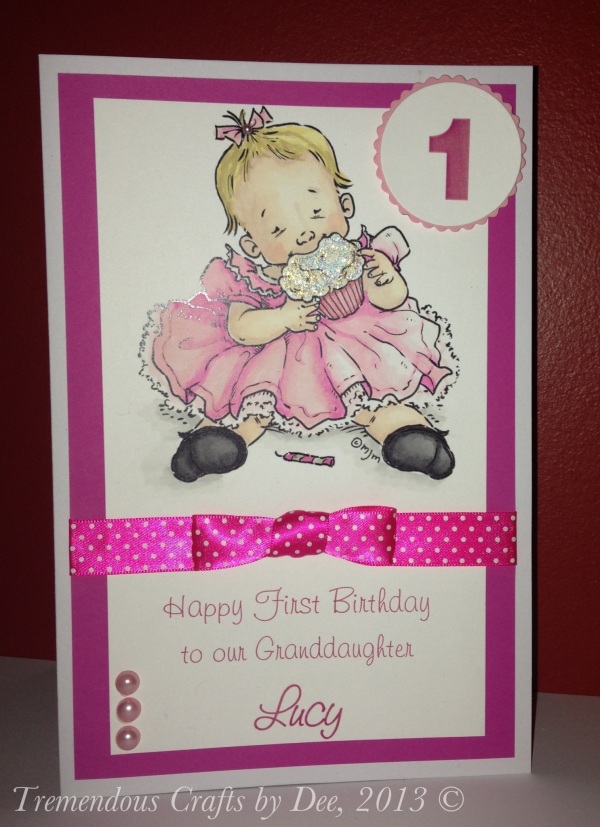
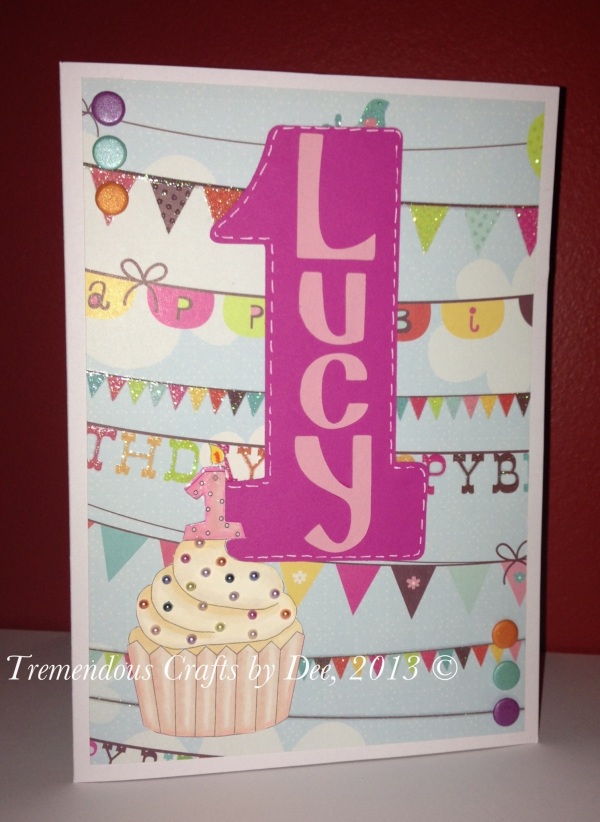
Three cards I made for my little niece Lucy for her first birthday.

20131031-212920.jpg

20131031-212932.jpg

20131031-212939.jpg

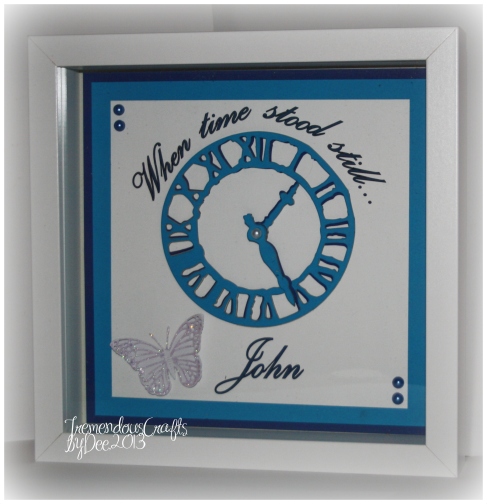
When time stood still…

A new style of framed craft from me. I used a Tim Holtz Clock die to depict the time my son was born.

Image

I am entering this into the Cut it Up challenge – Labour Day.
And also Craftin Desert Divas baby linky party.

_________________________________________________________________

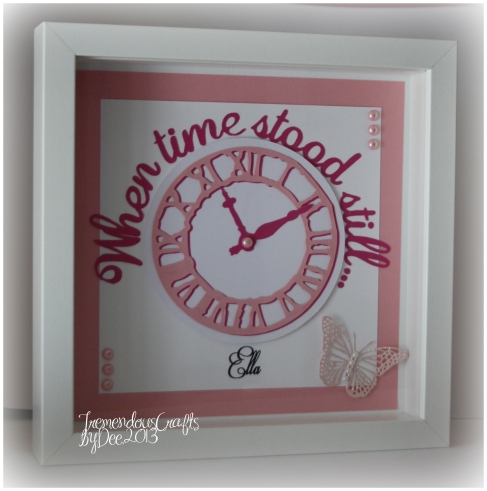
And here is a ‘pink’ version. 🙂

Image

__________________________________________________

Please visit my Facebook page HERE over the next few days, where you will find out how you can WIN one of these personalised frames in an exciting competition.

Thanks for looking. Dee*

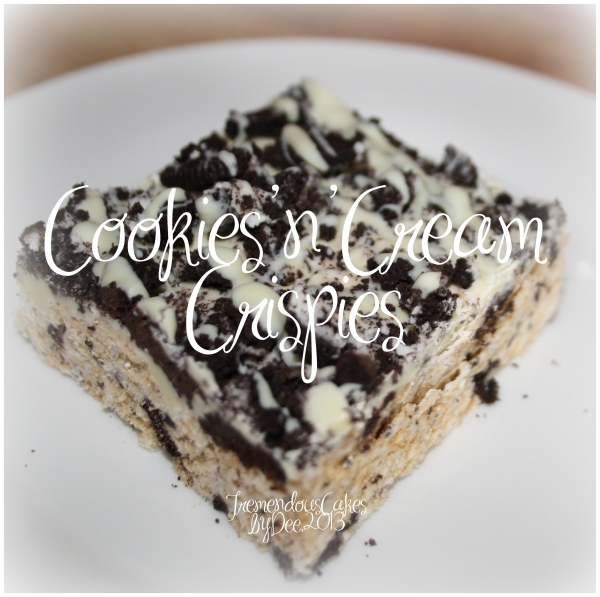
Cookies n’ Cream Crispies

IMG_2063b

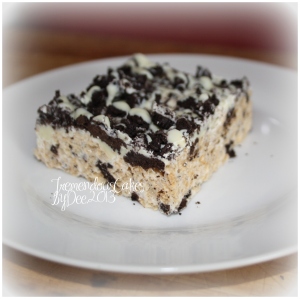
Very more-ish white chocolate and Oreo Rice Krispie squares. No-bake and simple to make. You don’t need to be very exact with the measurements.

Ingredients

  • 400g Marshmallows
  • 50g Butter
  • 200g White Chocolate
  • 250g Rice Krispies
  • 20 Oreos (approx 1.5 packs)

Method

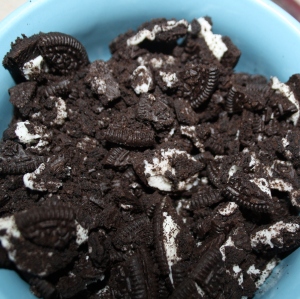
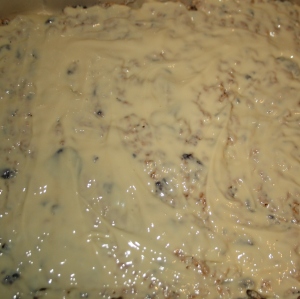
  • Break the Oreos into small pieces.

IMG_2055

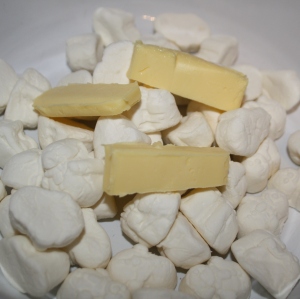
  • Melt the marshmallows and butter in a bowl set over hot water or at intervals in the microwave.
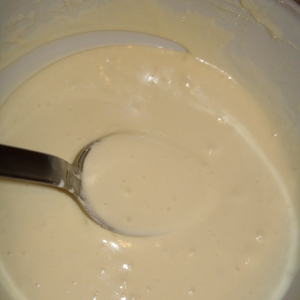
  • IMG_2054Stir until smooth (tip – grease your spoon with butter to help).
IMG_2056

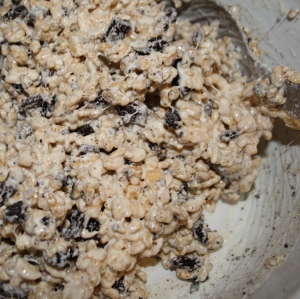
  • Stir in the Rice Krispies and 2/3 of the Oreos (keep the rest for the topping).
IMG_2057

  • Spread the mixture into a greased rectangular dish (mine is 21cmx28cm) using a large spoon or spatula. (another tip – let it cool for a minute to make it easier to spread around)
  • Melt the white chocolate in a bowl set over hot water or at intervals in the microwave.
  • Pour 3/4 of the white chocolate on top of the Rice Krispie mixture and spread it using the back of a spoon or a spatula.
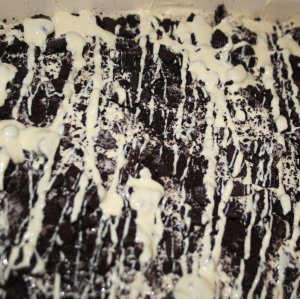
  • IMG_2058Sprinkle the remaining Oreos on top.
  • Lastly, drizzle the rest of the white chocolate over the oreos. You can put it in a sandwich bag with the corner cut off; or you can be a bit lazy like me and just use a spoon. 🙂

IMG_2059

  • Chill in the fridge, then slice and enjoy!

IMG_2061a


Male cards

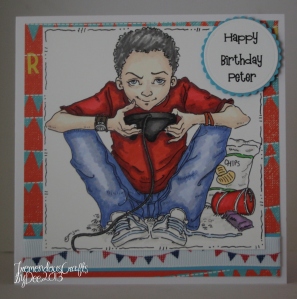
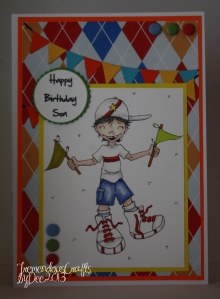
Here’s two cards I made for my brother’s birthday (one from me, one from my Mam!).
The first one has an image from Mo Manning, coloured with Promarkers. I used some lovely grosgrain ribbon I got from The Ribbon Shack.

IMG_2025a

I am entering this into the following challenges:
Mo’s Digital Challenge – Something Sweet (see all the goodies stashed beside gaming boy!)
Passion for Promarkers – Sketch

The second card has an image from Saturated Canary, also coloured with Promarkers. I used a new bunting die from Marianne.

IMG_2026a

IMG_2028

Thanks for visiting, please leave a comment!
Dee *

Summer Craft Swaps

I recently took part in two online craft swaps. It’s very exciting sending a parcel off to a stranger and waiting for their reaction. Also equally exciting getting a surprise back in the post. I’ve been very lucky in all the lovely crafts I’ve received in all the swaps I’ve be part of.

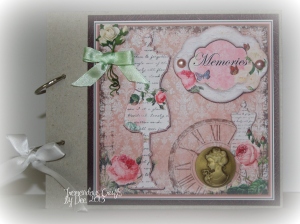
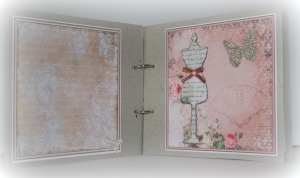
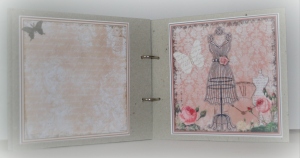
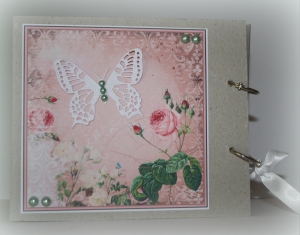
For the first one I used a kit for a memories book that I got from Jackie Mooney. I made it into a chipboard album and added one or two extra bits. There’s space for two photos in this album.

IMG_2014a

IMG_2015

IMG_2016

IMG_2017

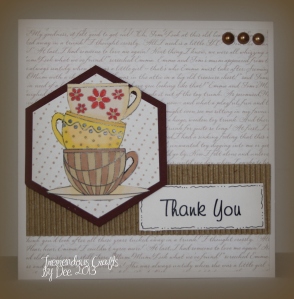
I also sent a few cards, but I only took a photo of one of them. I used a digi I had coloured in ages ago and hasn’t made it onto a card. I never seem to have time to colour or craft just for the same if it anymore! 😦
I used a coffee cup collar in this card aswell. Waste not want not!

IMG_2018a

And here is what I received…..a lovely box full of goodies.

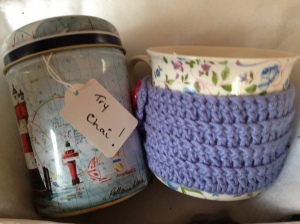
photo 3Homemade Chai tea (recipe to follow) and a gorgeous mug with a crocheted cosy. I’m looking forward to trying these out.

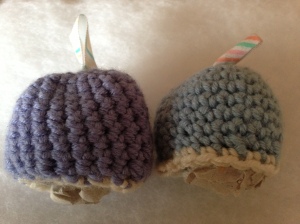
photo 4Two cute egg Cosies for my two boys.

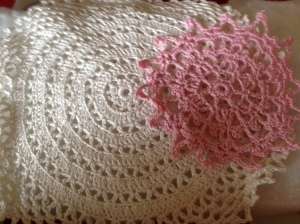
photo 5And two beautiful crocheted doilies.

Wasn’t I lucky?
__________________________

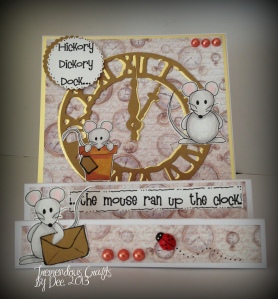
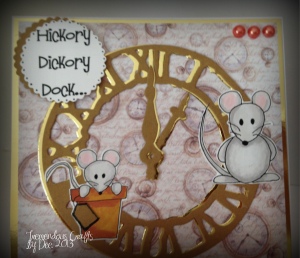
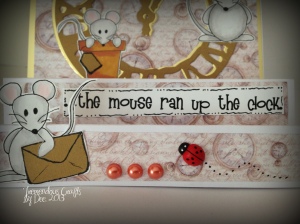
The second swap was an alphabet swap. My letter was ‘C’ so I made a Clock stepper card. I used my new Tim Holtz clock die and some digi stamps from Mami Doodles.
I am entering this card in the ‘Cut it Up’ challenge – What’s bugging you?  (see my little ladybug?!)

clocka

clock2a

clock3a

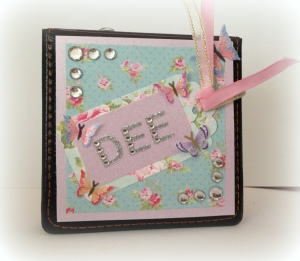
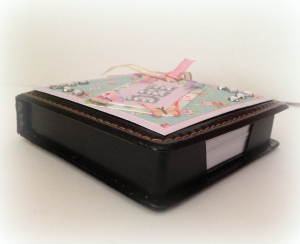
My swappee had the letter ‘D’, so she made me an altered notelet holder with my name on it, how clever is that? I’ll definitely be making some of these for Christmas gifts.

notebook

notebook2

______________________

Thanks for visiting! Please leave a comment.
Dee *

Kitkat & Smarties Cake

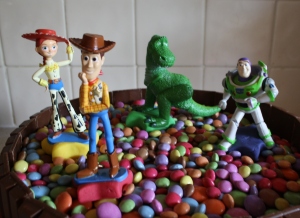
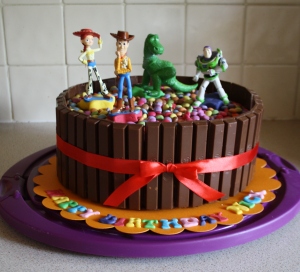
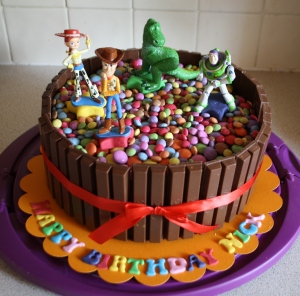
My littlest boy turned 2 recently.  He’s Toy Story mad at the moment so I bought some little figurines in the Disney Store to put on top of his cake.

IMG_1645

It’s an expensive cake to make!  But it’s simple to do and a huge crowd-pleaser.  Plus the 2-year-old just loved it and that’s the main thing.

The cake itself is three layers of a chocolate orange sponge, filled and covered with chocolate ganache and decorated with Kitkats and smarties.  I used 24 2-finger Kitkats and 4 regular-sized tubes and 8 mini boxes of smarties.

IMG_1641

I had no cake board (bad planning!) so I cut out a 12 inch scalloped circle from card using my Cricut machine and glued some sugarpaste letters to it.  I cut the letters out with Windsor Groovy Clikstix cutters.  (A tip someone gave me recently was to take the back ruler off the clikstix….it makes things so much easier!)  I finished it off with a red ribbon and bow.

IMG_1642

___________________________________________________

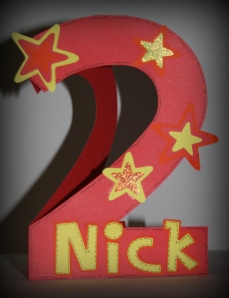
Nick’s card was a bit last minute. I cut out all the shapes using my Cricut machine and Cricut Craft Room.

IMG_1763

Thanks for visiting!

Dee*